

- Pliers - you will definitely need wire cutters, round nose pliers and flat nose pliers, bent nose or chain nose pliers are handy too.
- A mandrel - this is to make your frame. You can use anything around the house of the desired shape and size. I sometimes use a shot glass for the shape for a large pendant.
- Wire - for the frame I recommend 0.8 (20 gauge), 0.9 (19) or 1.0mm (18) wire for bigger frames I'd even use 1.2mm (16). I'm using 0.9mm.
- Wire - for the tree I used 0.6mm or 22 gauge. I wouldn't recommend any thicker wire because it gets a bit tough to wrap. If you would like a more intricate tree use 0.4mm (26).
- Optional - Beads, you can add beads for interest or leave the branches bare.
- Optional but recommended - If you can, a jewellers hammer and steel block to hammer and strengthen the frame. I know a lot of people don't have this so you just need to be a bit more careful not to distort the frame, you can always use a stronger or thicker wire as a precaution.
Step One


Make a little loop at the top of the frame with the end of the wire using your round nose pliers.

Wrap the other and of the wire around the base of the loop you just made. Make sure not to distort the frame at this point, it's easier to hold the frame with your flat nose pliers. I wrap it around once or twice then cut the end as close the frame as you can and flatten the end down with your bent nose pliers.

Next I hammer the frame (not the loop).
This is an optional step but it gives the frame strength so there is less chance you will distort it when making the tree.

I take the 22 gauge wire and 6 cut lengths approximately 3 times longer than the diameter of the frame and bend them in half. You can use more pieces of wire, it just means you'll have more branches and a thicker trunk. I chose to have 6 pieces because my frame is quite small, larger frames look better with more branches.

Wrap each piece around the bottom of the frame. as you can see I wrapped it around three times, in other variations I have wrapped it more times, but not less than three. If you want a wider base for your tree roots then wrap more.

Wrap all the pieces onto the bottom of the frame. Easy! Once this bit is done the fun begins and you really see the tree come to life!

Flip the wires so they are pointing up and twist the bunch of wires together, not too tight and only twist it about 360 degrees. See? It's starting to look like a tree. Yay!

Split the bunch of wires into two equal groups. Twist those together and split it again in to two more groups so you have four branches. Go with the flow at this point, twist the branches in the direction they want to go.

Twist each branch until you are left with single strands of wire.
This is the point where you decide whether you would like to add 'leaves' to your tree or not.

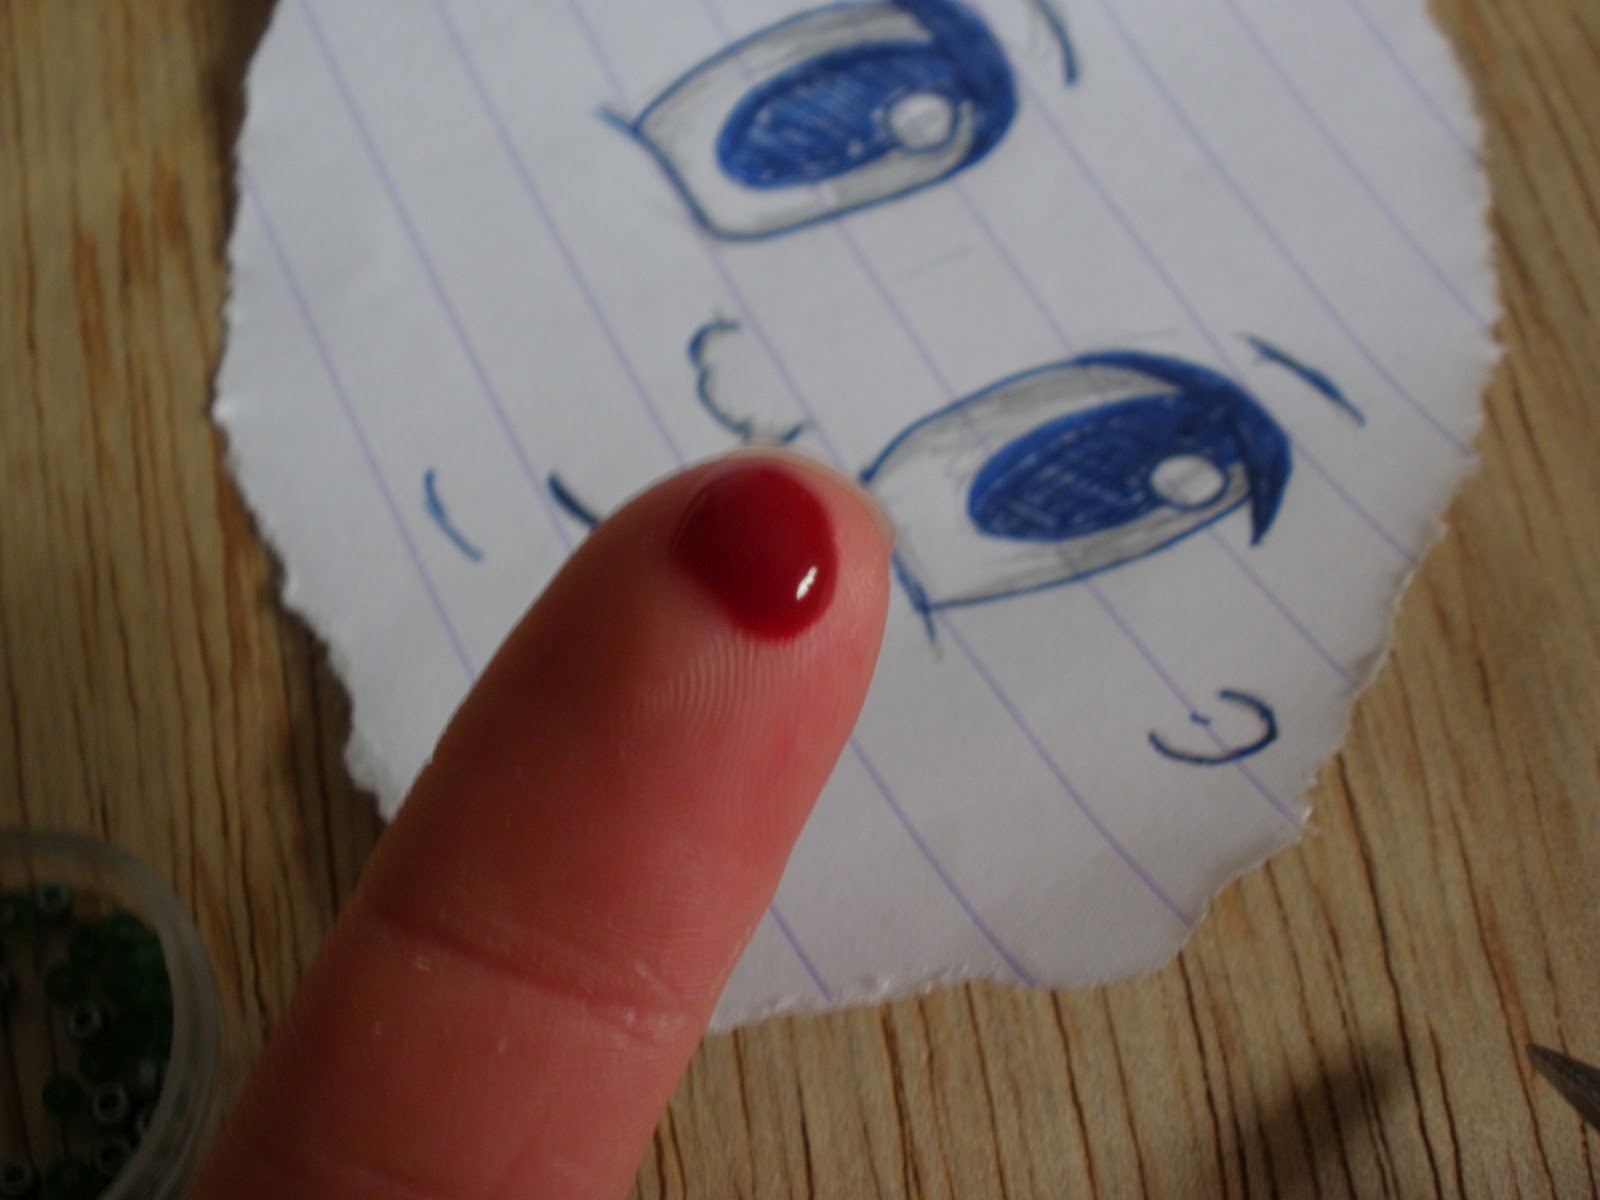
Thread your beads onto the ends of the wire and wrap the ends around the frame. Be careful with the ends of the wire. I managed to stab myself with the end of the wire, if you can, I recommend filing the ends. Warning: Do not look at the following photo if you don't like blood. :)

Once you've done that you'll have something similar, hopefully. All that is left is to cut the ends of the wire, or if your ends are long enough (and you didn't add beads) you can wrap once and then make a little swirl and squish it flat to the frame. (See last photos in post)
There is also this method on youtube - click here. This technique starts with the branches and finishes at the roots, I personally prefer my method but have a look anyway if you're interested it may just work for you.
Here are some of the other trees I have made.
 I gave this one to my mum for Christmas, it just shouts her personality and she was thrilled. As you can see I made the little spirals that I mentioned before and I added a 'moon' which I attached to one of the branches.
This is the first tutorial I have written so I hope you like. Maybe next time I'll give a video tutorial a try. :)
Bye For Now!
~Chloe Louise
P.S Please see my Etsy shop for my other work
Also you can 'Like' me on Facebook and follow me on Twitter. Thanks!
great tutorial :) I have been thinking of trying my hand at making one of these. Thanks for sharing :)
ReplyDeleteChloe - I love the use of the colored wire. It really adds a lot to the tree.
ReplyDeleteGreat job!
Thank you, I have to admit it's my personal favourite. ;)
DeleteWOW! A very detailed tutorial! And, your "trees" are beautiful! I especially love your silver tree with the swirls!
ReplyDeleteyou spent a lot of time on this, thank you! your trees are just gorgeous!
ReplyDeleteWhat a great tutorial, beautiful pendant
ReplyDeleteI have recently purchased wire jewelry supplies and perhaps one day I may actually get to try it
thanks for sharing, kisses for your booboo (after you washed away the blood)
Aw thanks, my booboo is better now :) I really find it so fun making jewelry, I hope you do try it too.
DeleteThat is so awesome! I could never do that, I need to stick to computer graphics.
ReplyDeleteI love James! How great
I am sure you could! I tried digital art a while ago but it didn't work for me, I enjoyed it but was never inspired and never finished anything it did start. lol. My boyfriend gave me a weird look when he saw James...so I had to include him in my tutorial hehe.x
DeleteThank you everybody! :)
ReplyDeletenice tutorial! thanks!
ReplyDeleteUnique Cozy Treasures - Cool! Thanks for the lesson.
ReplyDeleteWell done tutorial, thanks!
ReplyDeleteWhy didnt I think about this? I hear exactly what youre saying and Im so happy that I came across your blog. You really know what youre talking about, and you made me feel like I should learn more about this. Thanks for this; Im officially a huge fan of your blog browse around this web-site
ReplyDelete